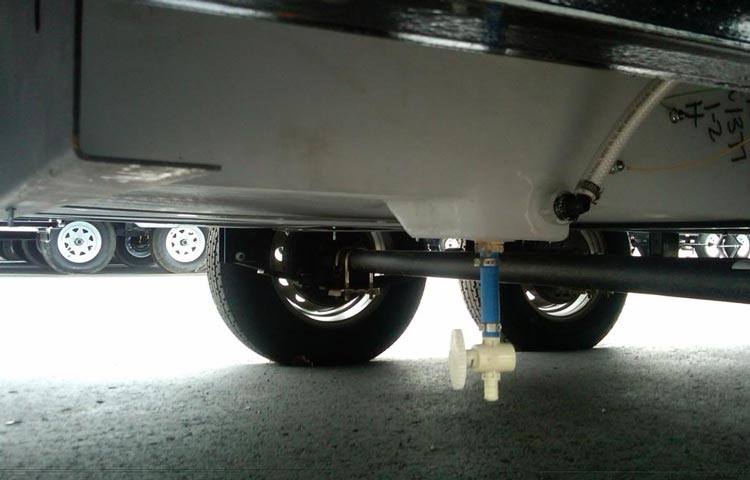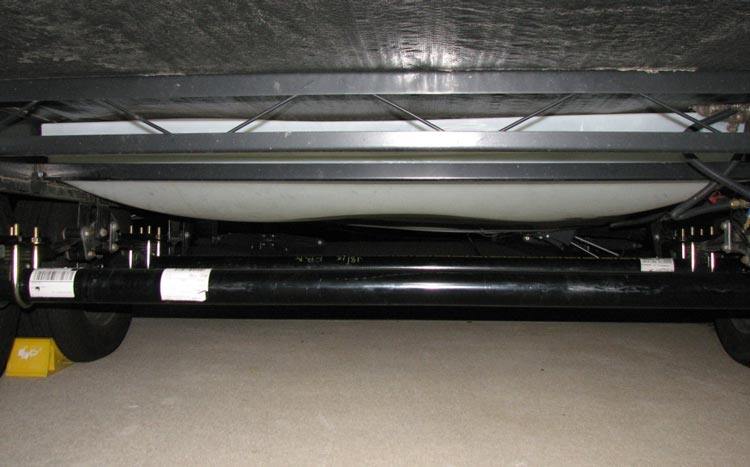
Regardless of the size of your RV, you can still choose to make it offer all the modern facilities and conveniences often offered at the comforts of your own home. These include electricity, air conditioning, heat, as well as running water.
When it comes to the water in your RV, though, take note that the water system integrated into your vehicle is not the same as the one installed in your home. For instance, the wastewater in your vehicle does not drain into a septic system or a municipal sewer. What it does, instead, is drain it into one of its two tanks.
That said, you really need to make sure that you drain and empty the holding tanks in your RV regularly. Such is the key to preventing them from overflowing. You can also maintain their excellent condition while also preventing the risk of them developing foul odors if you religiously do that task.
[amazon box=”B00SVGEF1K”]
Basics Steps in Cleaning and Draining your RV Freshwater Tank

Draining your RV fresh water tank is actually a step involved in sanitizing it. It should be noted that sanitizing the tank requires you to use bleach.
Step 1
Fill around three-fourths of the tank with one-half cup of bleach to every 15-gallon of water it can hold. Once this solution is already added to the tank, drive around your vehicle if you can. Doing such will let the water move around, thereby ensuring that the bleach solution will spread over the entire tank.
This is a big help in ensuring that all parts of the tank are covered. You should also make it a point to let the bleach solution stay in the water tank for several hours.
Step 2
Now it is time for you to drain the tank. To do the draining process, you have to turn on all the available faucets in your recreational vehicle. Such will let you drain out all the water in the tank. When draining, there is a great possibility for you to smell the bleach.
Step 3
Let your water system stay that way for at least three hours. This will help ensure that all the water with the bleach and its strong smell are fully drained. Take note that you are allowed to refill the tank and drain it as many times as necessary. Your goal is to make sure that you do that until you can no longer smell the bleach.
Step 4
Continue refilling and draining again, until you notice that the water that comes out from the faucet no longer smell of bleach. If it no longer has that smell, then you have an assurance that you will already start gaining access to clean and fresh water once again.
Does the Water Tank Need to be Replaced?

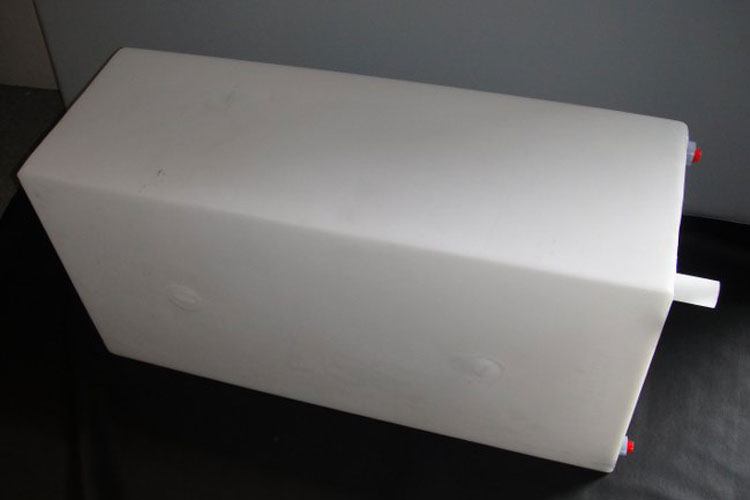
Aside from learning the basics of draining your water tank and keeping it clean through sanitizing, it is also crucial for you to check it every once in a while so you will know if it already needs to be replaced. The good news is that replacement freshwater tanks are presently available regardless of the size and capacity of the tank in your RV.
Prior to buying a replacement tank, though, you have to determine your existing tank’s dimensions. Freshwater tanks in recreational vehicles often come with a 2-inch vent as well as a 3-inch inlet. The two are actually indications that the tank is at its highest point.
Once you have purchased a replacement tank, installing it should come next. The first thing that you have to do is to clean and sanitize your freshwater system. After that, you have to make sure that you completely drain all the pipes. After draining, fill up the tanks again with water and liquid soap. You should then drain the tank one more time.
Once you have drained the system for one more time, you should remove the existing holding tank. Fit the new one so you can replace it. When doing so, make it a point to refer to the instructions stated on the replacement tank so you won’t end up committing any mistake.
Once installed, you should check it for leaks. You can do that by filling the new holding tank slowly with water. If there are leaks, make it a point to repair them right away. Once repaired, you should fill three-fourths of the tank and add one-half cup bleach for each gallon.
Leave the water with bleach to sit in the tank for several hours. After that, you should flush the water system again. You should continue doing that until you notice that the tank already holds water, which is not only fresh but does not also come with unwanted smell and taste.
In case the tank is in need of repair or if it cracks accidentally while you are riding your vehicle on the road, then a wise tip is to drain it completely. Do this prior to the arrival of the replacement. If you only need to do repairs, then just completely remove it so you can do the necessary repairs.
Additional Tips for Maintaining your RV Freshwater Tank
Draining your RV water tank and sanitizing it regularly is one of the keys to maintaining its excellent condition for a long time. You have to make those tasks a part of your routine. Aside from draining and sanitizing, there are also other things that you can do to maintain the excellent condition of the freshwater tank in your RV.
One tip is to use white hoses that are non-toxic in filling the storage tanks. Those are the only water hoses you should use. When not in use, make sure to roll up the hose. Their two ends should stick together. Avoid using any other hose as it might be filled with chemicals that might cause the water in the tank to smell bad.
Another tip is to invest in a filtration system. You need a filter as it can help prevent debris from penetrating the storage tanks. In addition, the filter is helpful in getting rid of bacteria, as well as lead, often found in drinking water. In this case, you have the option of directly installing an inline filter in the sink where you drink water from or filtering all the water that goes into your vehicle.
If possible, choose the second option, which involves filtering all water that you get in your RV. This will ensure that you constantly have a supply of clean and fresh water, which you can use not only for drinking but for other purposes, like cooking and showering.
Remember that the water tank in your RV contributes a lot to keep your drinking water, as well as the one used for showering while traveling clean and safe. That said, you really have to exert an effort to maintain their excellent condition.
If you notice a stagnant smell or if your drinking water starts to be less palatable, then it is time for you to drain the tank and clean it. The good news is that it is a task that you can do on your own using the steps that we have already discussed earlier.
Conclusion
Owning a recreational vehicle and driving around the road or camping in it requires you to understand everything about properly maintaining the water system in your RV. You have to make sure that you know the ins and outs of draining your RV fresh water tank as well as sanitizing it.
It is because your knowledge in those areas can help ensure that the storage tanks stay clean and sanitized. Do it at least once a year so you will constantly have a good supply of clean and sanitized water while on the road.