Even if you only small a small recreational vehicle, you can still fill it with all the modern facilities and conveniences that are present in a home, including heat, air conditioning, electricity, as well as running water. Take note, though, that the water system that you use in your vehicle is actually different from that used in your home.
It does not drain into a septic system or municipal sewer. What it does, instead, is that it drains the wastewater coming from your RV in any of its two installed holding tanks. Because of this, you need to empty the tanks regularly to ensure that they do not overflow.
It is also important to maintain them to prevent them from producing foul and offensive odors. Also, you have to remind yourself that whether you are using your vehicle weekly or once every year, it is crucial for you to have enough supply of water so you can genuinely enjoy the whole experience.
Fortunately, the majority of recreational vehicles today are designed with a dedicated tank, which can be specifically used for freshwater. You just have to ensure that you keep it full so you will have a constant access and supply of water – whether from your RV’s bathroom or kitchen.
Now the question is how to fill an RV water tank with freshwater? Let this article serve as your ultimate guide in that process.
What you Have to Know About Freshwater for an RV?

One of the things that you have to know about freshwater for your recreational vehicle is that you can actually obtain it using two ways. One is by hooking it up to city water, which will allow water to go directly into the different lines of your RV while also directly feeding water.
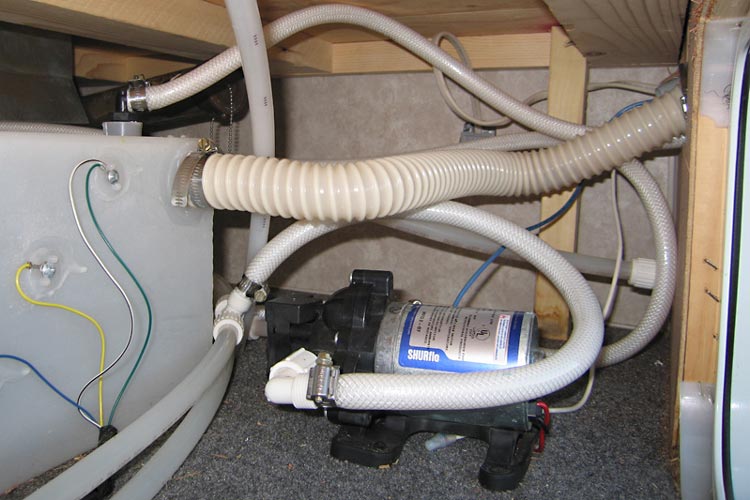
In case you don’t hook up to city water, then it is crucial for you to fill up the tank with freshwater so you will have a constant supply of it. In this case, you will find a 12-volt water pump in between the tank and the different water outlets inside your vehicle. Such pump pulls water from the tank.
It also pressurizes the water lines, just like what city water does. The water pump is also usually equipped with an on or off switch as a means of starting things. Also, based on the actual setup of your system, most are equipped with an air accumulator tank, which works by keeping a specific amount of pressure inside your system.
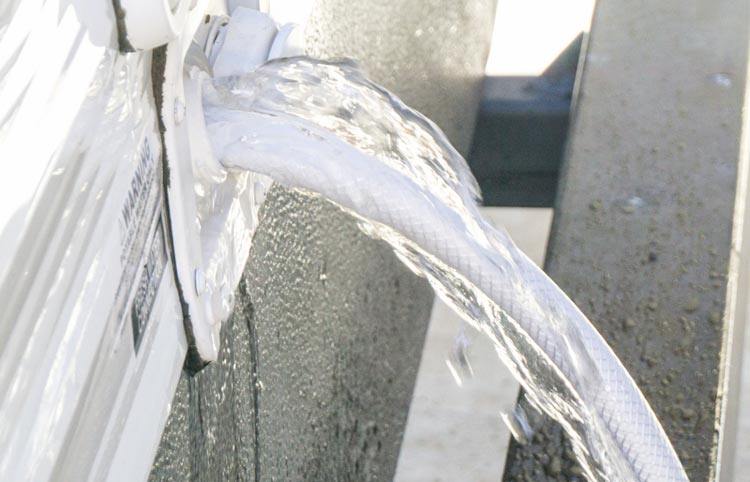
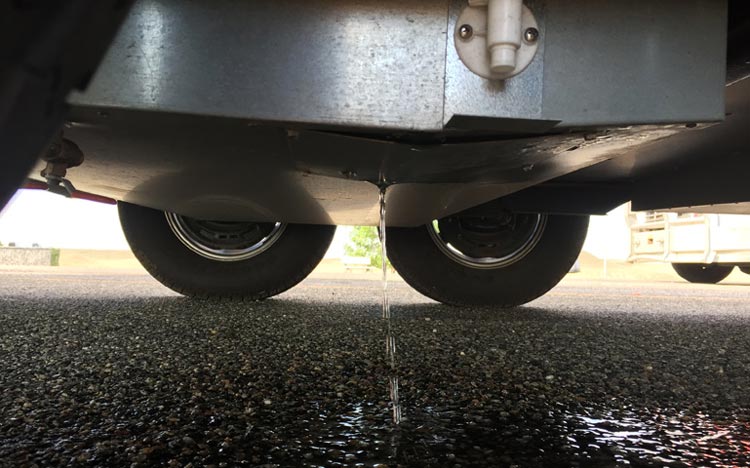
However, you have to take note that water tends to be damaging if you let it get out of the water lines or tank accidentally or by mistake. That’s why it is highly recommended to turn off the water at the city inlet in case you’re hooked to city water. Do that if you leave your RV.
In case you use water from the tank, then make sure that the switch of the pump is also turned off before you leave your RV.
The Actual Steps Involved in Filling an RV Water Tank

Filling up your RV water tank with freshwater is actually something that you can do yourself. This means that you do not need to seek the help of a professional in this area. You can actually do the filling process yourself with the aid of these simple steps:
[amazon box=”B07FP755WS”]
Step 1
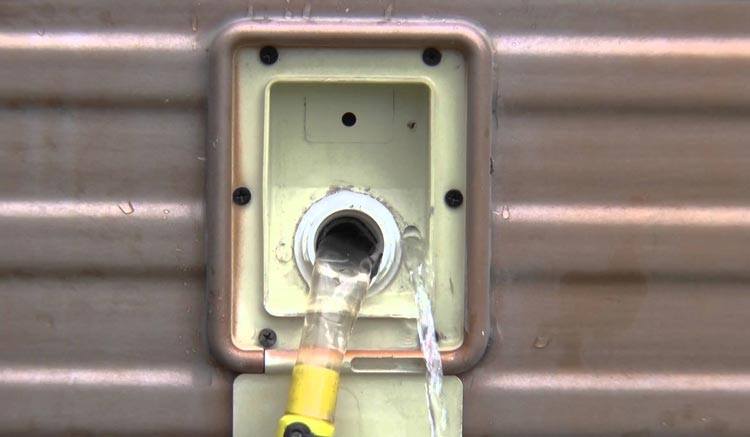
Look for the connections. Once you feel like you are ready to do the process of filling the water tank of your RV with freshwater, the first thing that you have to do is to look for the exact location of the connections for the freshwater tank. In this case, you will most likely find a connection on the exact tank.
You will also notice another connection, which is mainly designed to hook up the tank to the city water. In doing this step, you will also realize that the hose comes with a screw that you can find on the connection, which runs to the city water.
There is also a valve, which you can use to decide whether you should fill the tank up or just directly use the city water. Of course, since this article is all about the basics of filling an RV water tank with fresh water, we will be discussing the fill-up option, instead of the use of city water. Choose the fill-up option at this stage.
Step 2
Utilize the hose for freshwater. This is considered to be the ultimate golden rule if you plan to fill up the freshwater tank of your RV. It is crucial for you to use such hose as it is specifically designed for fresh or potable water. That said, you should never use it to drain black or gray water tanks.
It is because if you do that, it might only lead to cross-contamination. This might also result in an increased risk of harmful germs and bacteria penetrating the freshwater tank of your vehicle. In that case, you really have to psyche yourself to fill up the water tank with the freshwater hose.
Step 3
Ensure that you are using a high-quality and reliable water filter. Aside from having to use the freshwater hose, it is also advisable to take advantage of a water filter known for its top-notch quality when you need to fill the freshwater tank of your vehicle.
The filter is necessary for getting rid of chemicals, minerals, toxins, and other impurities found in the sources of water. However, you have to make sure that you replace the filter regularly so you will have an assurance that it will continue to function as required.
Note that when it builds up impurities, there is a tendency for the filter to become less effective when filtering water. This might lead to getting a supply of contaminated water. That said, make it a point to use only a high-quality water filter and replace it once every six months.
Step 4
Assess the other water filters installed on your RV. Make sure that you spend time checking all the other filters present in your recreational vehicle, such as those in your bathroom and kitchen sinks. All the filters in your RV should be maintained and replaced every six months, too.
Step 5
Turn the water pump on. You have to do this step after you have partially filled up the tank. When you notice that the RV water tank is already partially full, it is highly recommended to turn on the kitchen sink, as well as the water pump.
Such is the key to letting more water fill your RV water tank. It also lets you squeeze a max of ten more gallons of water to your RV system.
Basics of Sanitizing your Freshwater Tank

Aside from learning everything that you have to know about filling up the freshwater tank of your recreational vehicle, it is also a must for you to understand how you can sanitize it. Note that the tank has the tendency of harboring bacteria, especially if it’s already a bit old or if you left it for a while unused in your stored vehicle.
[amazon box=”B074W2P81T”]
Due to the accumulated bacteria, it is possible for the tank to develop an unwanted smell. It can also cause your drinking water to smell and taste bad. If you want to avoid that, then it is crucial for you to sanitize the tank on a regular basis.
Sanitizing the freshwater tank and getting rid of unwanted smell and taste in your water is actually possible with these steps.
Mix a cup of bleach and 4 gallons of water – That’s actually the ideal formulate if your recreational vehicle has a 40-gal tank. If the tank has a 60-gal capacity, though, then you may need to mix around one and one-half cup of bleach with 6 gallons of water.
For a 100-gal tank, mixing two cups of bleach and 8 gallons of water is the best thing to do.
Pour the bleach solution into the tank – After that, you should fill up the tank with freshwater completely.
Let all your faucets and sinks run – Do this one at a time, though. You should let them run until you smell the bleach from each one. Do it until the tank of your RV becomes empty, too. Once empty, fill such tank with freshwater. Allow it to sit overnight.
Drain the tank the next day – You should do that using all the faucets again. Do the filling and draining steps using fresh water for three more times. You have to continue doing it until you no longer smell the bleach you used the day before. If it no longer smells of bleach, then you have successfully sanitized the freshwater tank.
Conclusion
Your RV’s freshwater tank is crucial as it gives you a constant supply of safe and clean water. That’s the main reason why you have to learn things about filling up the tank and maintaining it. Sanitizing the tank is also crucial in maintaining its excellent condition for a very long time.