If you’ve been camping with your RV, you’ll know that the awning is an essential element.
RV awnings provide outside shelter so that you can comfortably lounge in the wilderness without being exposed to the overbearing sun.
Because RV awnings are so important, they are often the most used accessory on an RV. They travel around with you everywhere and can provide you with shade and protection for years.
However, just like other products, damage and wear may occur over time. The good news is that you can learn how to replace it yourself.
Let’s take a look at six things you need to know about RV awning replacement
RV Awning Replacement: How Do You Know It’s Time?
If you feel that your RV awning has seen better days but you’re not sure if it’s time to replace it entirely, here are a few signs to look out for
- Frayed or Ripped Fabric: If the fabric of your awning is frayed or ripped, this can result in an unraveled mess. If it’s tearing off where it’s attached to the frame, then perhaps it’s time to replace the fabric.
- Stained or Faded Fabric: While light fading or small stains aren’t the end of the world, if your awning is covered in stains and has had a lot of sun exposure, it may be time to replace it.
- Mildew and Mold Buildup: When your RV and the awning is exposed to high levels of humidity and heavy moisture, mold and unsightly mildew can begin to form. If you catch it early enough, you may be able to clean it off. However, if it’s been there for a while, you may need to replace the entire awning.
- Sagging Fabric: When the awning is left in the rain and collects water, the fabric can begin to sag. This results in stretched fabric that may not go back to its former self.
Electric or Manual: What’s the Difference
When thinking about replacing the awning on your RV, there are two different types out there. The kind that your awning needs will depend on the maintenance and care required.
When you have an electric RV awning, it can be opened and closed simply with the flick of a switch. This means that there will be little maintenance involved. If your RV awning is electric, you’ll need to keep the joints lubricated.
If the joints themselves begin to seize up and the electric component on your awning stops working, you may have to look at replacing the entire canopy.
Surprisingly, manual RV awnings require a bit more maintenance. This is because there are a number of different moving parts that are separate from one another. It’s important that you make sure the canopy is deployed correctly every time you bring it out. Otherwise, you risk causing damage either to the canopy or the RV itself.
If the awning of your manual RV is in need of replacing, then you’ll be able to replace just the fabric.
Different RV Awning Fabric Options
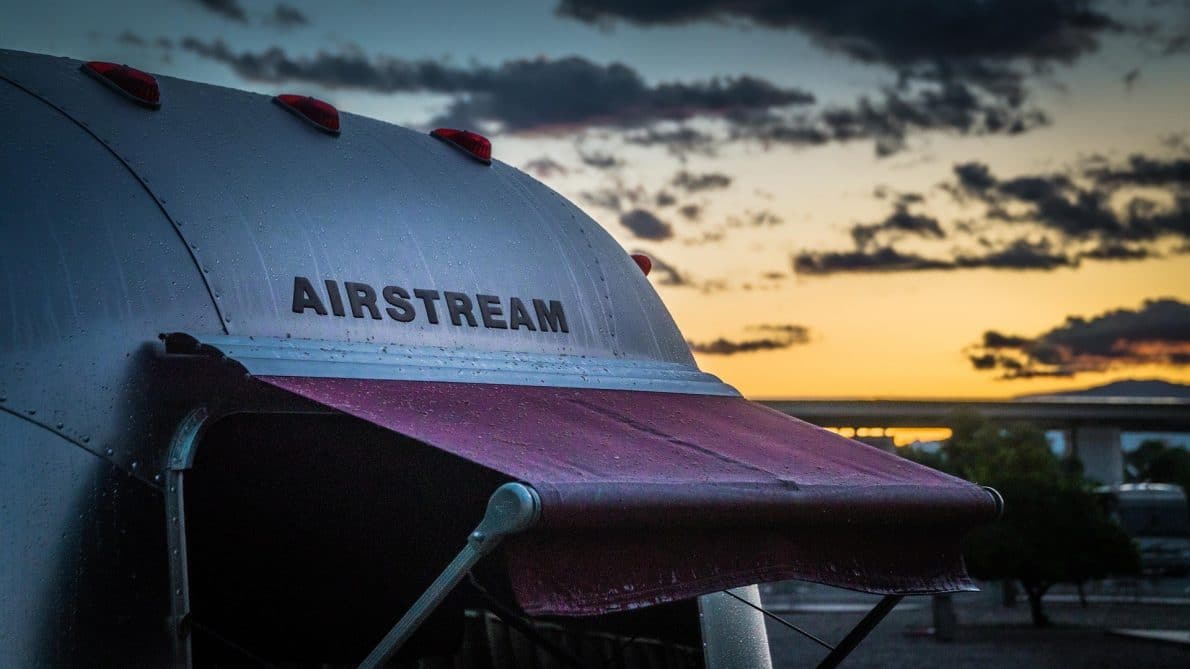
Image by Steve Adcock from Pixabay
You may not know too much about the fabric that your awning is made out of. Learning a bit about this will help you when it comes to replacing or repairing it.
On nearly all existing RVs, the canopy part of the awning is made out of vinyl. This is a great fabric to use on an outdoor accessory because it’s durable, naturally resistant to water, and lighter than cotton.
However, it does come with its own set of challenges, which may result in damage that needs replacing. Most of these challenges are related to water.
It’s vital that you never put an awning away while it’s still wet. When water is allowed to sit on the canopy of your awning for an extended period of time and isn’t allowed to escape, it may form mold or mildew on the fabric. The best-case scenario from this is staining on your awning, and the worst-case scenario is having to replace it altogether.
Whether it’s pre-replacement or post-replacement, it’s crucial that you clean your awning at least once a year. You can do so by scrubbing it with bleach or vinyl cleaner.
Finding and Installing Your RV Awning
When you’ve decided that it’s officially time to replace your awning, you need to determine if standard vinyl or modern acrylic is the best fabric to suit your needs.
Regardless of the type of fabric you wish to use, it’s important to do your research ahead of time. As well as making sure that the product you choose can hold up against rot, mildew, mold and sun exposure, you also need to ensure that the canopy is designed to fit the model and make of your awning specifically.
Always request a warranty for your awning before you purchase it.
There are two ways to execute an RV awning replacement. The first is to do it yourself, which we’ll discuss below. When you install an RV canopy yourself, it’s essential that you’re confident and know what you’re doing.
If you’re not confident enough to install it yourself, we suggest having a professional help you with the job.
The manufacturer of the product you’re buying will be able to help you find a professional who can do the installation. Remember, if you follow the following instructions and install it yourself, make sure to heed all the manufacturer’s guidelines.
RV Awning Replacement: A Guide
Let’s take a look at how to install an RV awning yourself.
- Existing Awning: The first thing you need to do is release the existing awning. Roll it down and lock it into place. Rotate the inner shaft of the awning until all the holes are lined up. Bending the end of the cotter pins, use a wrench to disconnect the lag bolts.
- Lift the Awning: Lift your awning out of its place and walk away as the fabric is unwinding. It’s vital that you take note of how many times you have to turn the spring to relieve tension – this is an exact number and will be used when you install your new awning.
- Lift the Tube: Free the fabric by lifting the tube that holds it out of its place. Install the new material in the tube gently, so that you avoid tearing it.
- Reconnect: Reconnect the torsion and rivet back into its original place. Reconnect everything else, exactly as you found it. Once you feel that it is in its rightful place, test your RV awning to make sure it’s working just as well as it did before.
How to Keep up with Basic Maintenance

Image by justinerkelly0 from Pixabay
Now that you’ve got your brand-new awning, you need to take care of it and keep up with necessary maintenance.
While your awning will experience some natural wear and tear, there are preventative measures you can take to make sure your awning fabric stays in great shape. Let’s take a look at what these are:
- Retract Your Awning: Don’t leave your awning out and exposed to harsh weather conditions. Always try to bring the canopy in before any bad weather hits.
- Clean It Regularly: As we mentioned above, it’s important that you clean your RV awning at least once a year, with the appropriate cleaning tools.
- Leave to Dry: The last thing you want is to encourage the growth of mold and mildew on your brand-new awning. Always try to avoid rolling it up while it’s still wet or even just damp. Leave it out in the sun to dry for as long as you can before retracting it.
- Routinely Check-In: Try to check in with your awning as much as possible and look for signs of damage, or wear and tear. Remember, if you catch any mold or mildew growth early enough, you may be able to get rid of it without having to replace the entire awning.
RV Awning Replacement: What You Need to Know
The awning on your RV provides you and the family with shade on those hot summer days, a place to park the bikes and even somewhere to set up a table for eating meals outdoors.
Whether you like it or not, your RV awning is going to wear and tear over time and will eventually need to be replaced. You can either recruit the help of a professional to do this or attempt to complete the job yourself if you’re confident enough.
Whether you’re learning a hard lesson about RV awning maintenance or it’s well overdue for a replacement, make sure to apply these tips and tricks when getting your new RV awning.