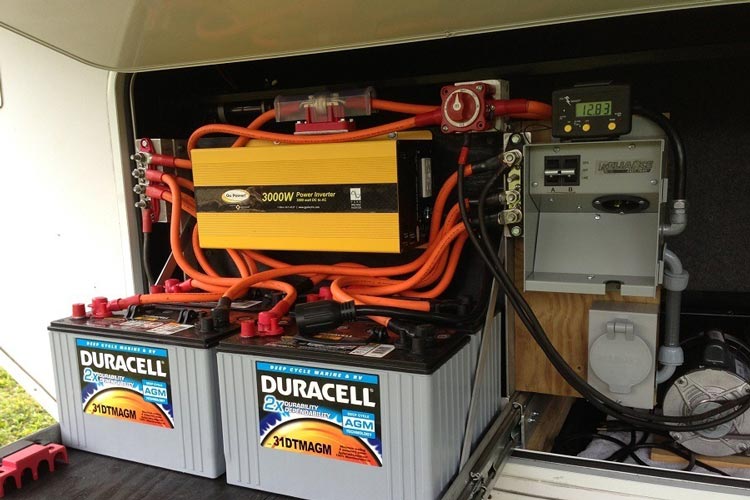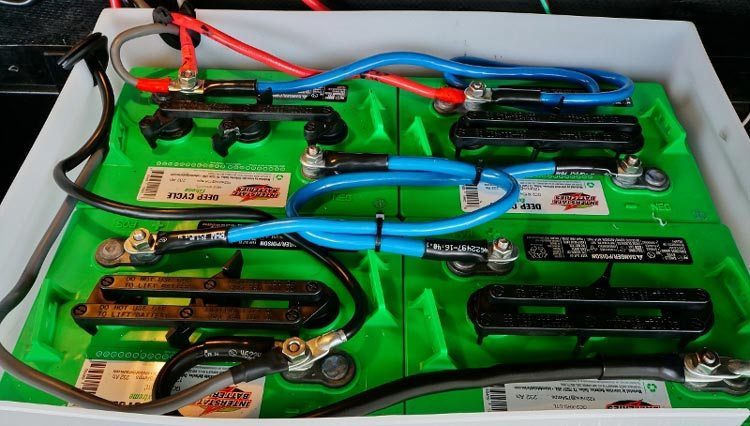
The heart of the electric system of your RV is the battery. With the batteries fully working and completely charged, you know that they can help keep the lightings on while also ensuring that the other onboard facilities will receive more than enough power to work.
For instance, you can control and operate your onboard facilities and appliances. Also, you have an assurance that the pump will be turned over for you to take a shower.
Now if you are out on a trip, what you have to make sure of is that your battery is charged enough to give you a continuous supply of power.
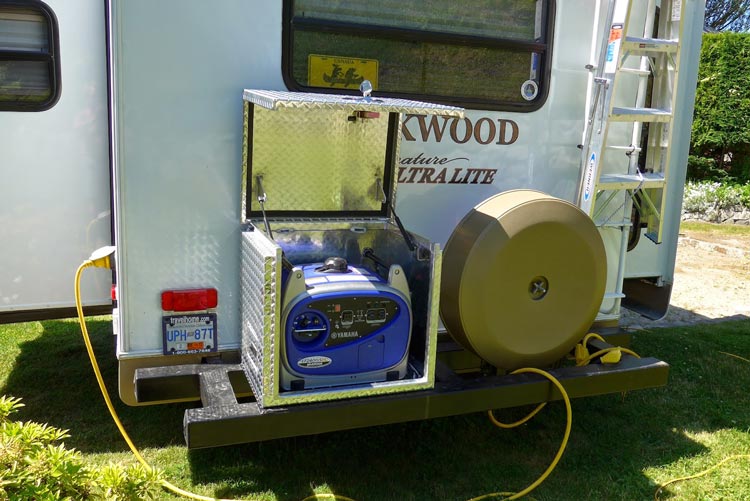
However, even those recreational vehicles equipped with wind or solar power still require a boost than what the alternative energy systems can offer at times. In this case, you might need a generator.
Quick NavigationCan a Generator Charge an RV Battery?The Actual StepsSome Vital Factors to Keep in MindFinal Words
Can a Generator Charge an RV Battery?

The answer is actually yes. Your RV generator is capable of charging the house batteries of your recreational vehicle although at a slower rate when compared to an actual battery charging solution. The whole process of charging an RV battery with a generator is actually easy.
However, it also requires you to have some knowledge about the size and type of battery that requires charging. The ideal time for charging the battery with a generator is before a camping trip, especially if you plan to do it in a remote place. In this case, you won’t end up noticing too late that the battery is already almost drained.
When that happens, your generator may have a difficult time fully recharging it. Also, you need to check the generator manual so you will know if the unit has a regulated and tapered output or if it has unregulated constant amp output.
The Actual Steps

Step 1
Make sure to give your generator a full charge. Another option is to plug it into an AC outlet. Turn off the vehicle and engage the emergency brake to prevent accidents. After that, you should look for the battery then examine it thoroughly if there are corroded parts, cracks, or bulges. Check if the terminals are dirty, too.
Step 2
Prior to cleaning the battery, remove the cables using a wrench. The negative or black cable should be removed first prior to the positive or red one. Start cleaning up the terminals with a paste composed of water and baking soda. Apply the paste using a toothbrush. As for the corrosion, use a wire brush to remove them.
After removing all grime, use a clean rag to clean it off and ensure that the terminals are already fully dry.
Step 3
Examine the levels of electrolyte. If you notice that the fluids are low, then pour enough distilled water until it reaches the fill point. Connect the battery again by attaching the positive (red) cable first then the negative (black) one. Fasten them securely with a wrench.
Step 4
Maximize the charging process by unplugging electrical appliances. The lights should be turned off as well. Ensure that the generator is plugged into an AC outlet, which is around 120 volts. Also, take note that if you are making use of a portable generator, which has a 12-volt output, the charging process may be slow.
The time it takes to charge the batteries completely is also dependent on the present weather. You may be unable to obtain the complete capacity if the temperature is below forty degrees.
Step 5
Plug the RV plug into the generator. You can expect the battery to be charged completely within two hours provided it’s not depleted and you plugged the generator into an AC outlet. However, expect the whole process to take longer in case the battery is already below twenty percent.
Ensure that you avoid getting the battery depleted. It is important to keep it charged to extend its life.
Step 6
Once you completely charged the battery using your generator, make it a point to wisely manage and use your onboard facilities and appliances until you reach the campground. Also, ensure that the generator is plugged as soon as possible so you can use it if needed right away.
Some Vital Factors to Keep in Mind
When it comes to charging RV battery with a generator effectively, you have to constantly keep in mind a lot of vital factors, including the following:
Proper care for the battery
It is important to properly take care of the RV battery as it has a direct impact on its lifespan as well as recharging capacity. Make sure that you constantly monitor its electrolyte level so you can replenish it with distilled water right away.
Also, ensure that the battery is charged properly. Prevent a deep discharge of below twenty percent so you can continue extending its life.
Internal generator
The internal generator of your RV makes use of a converter. It is capable of converting 120 volts into 12 volts. However, it is not designed to work as a battery charger. The primary purpose of it is to supply 12-volt power to your rig while plugging it into an A/C outlet.
With that in mind, remember that running the generator will cause the charging of the house batteries to be at a much slower rate. In this case, you need to turn off all your appliances to let the generator fully charge the battery in a more efficient and faster manner.
Recharge time
It should be noted that the power needed for charging the battery using a generator is identified by several factors. These include the size of the battery, the number of 12-volt appliances and lights operating during the process of re-charging, amps needed from your generator, converter output rating, and the level of discharge.
Final Words
In most cases, an RV does not only have a single battery. It comes with at least two. To guarantee that you will enjoy a hassle-free living when you are in your RV, make sure that the batteries are well-maintained and properly charged.
Aside from the generator, you may also want to invest in other sources of power, like converters and solar panels – all of which can power up the things inside your RV.
Proper care for the battery is very important. It is what the life of the battery depends upon. I tend to replenish the water every 3-4 months. I have noticed it’s not a very good idea to let the charge drop anything below 10% also do not leave it unused for over a few months, this damages the cells of the battery which is hard to repair.