Are you allowed to charge the battery of your recreational vehicle even when you are driving? The answer is actually yes and that’s what this article will teach you. An RV battery draining when you are out on a trip is a problem that most recreational vehicles would like to avoid as much as possible.
You don’t want the battery to drain too fast when you are still out on the road. Fortunately, with proper guidance, it is actually possible for you to charge RV battery while still driving. That will reduce the inconvenience that you might experience, thereby letting you enjoy your trip even more.
The Actual Steps

If you are worried that charging an RV battery while you are driving is hard, then rest assured that it is not. In fact, the whole process is doable and manageable. The major factor that you will have to consider when doing this is the exact location to place the battery.
Once you made the decision, installing a system, which you can use to charge the battery within just twenty minutes is possible. Here’s one simple way to charge RV batter when you are driving. The whole procedure requires Anderson plugs, high-quality and high-amp cables, and VCR (Voltage Controlled Relay).
Step 1 – Start working with the VCR. This device disconnects automatically while also making the auxiliary parallel and starting the batteries. In this case, the VCR is closed while the trailer and truck batteries become paralleled based on the preset level.
In the event that your recreational vehicle runs, the relay will become open. On the other hand, the two batteries tend to be disconnected when you turn off the vehicle. This will bring the voltage to the preset level.
Step 2 – Combine batteries with the help of high-quality and high-amp cables. Doing this step is crucial in minimizing the risk of voltage drop. You may use Anderson plugs designed to provide an excellent connection while ensuring that the voltage loss is minimal.
In addition, the plugs are capable of carrying large amperage. Make sure that the cables can be easily detached at the two bar. You can expect to get rid of any fire hazard due to the circuit protection provided by the automatic reset circuit breaker, which runs at 50 amps.
You can see the breaker at the positive lines found on each side of the plugs. You will also notice a few rubber boots that tend to slip on the breaker as a means of offering insulation from shorting.
Alternatively, you can also use this next method in charging RV battery while you are driving. It involves the following steps:
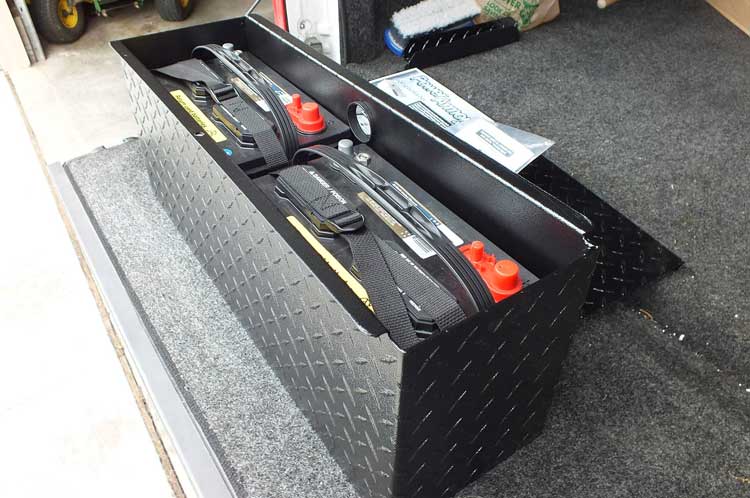
Step 1 – Disconnect the cable. What you have to do is to disconnect it from the primary battery’s negative post. Put the extra battery in your RV and connect the battery tie-downs as a means of holding it in place.
You may use the bolts existing for an anchor when handling the tie downs. Alternatively, you can use sheet metal screws as a means of drilling then connecting the tie-downs.
Step 2 – Connect the battery isolator. The attachment should be in the engine compartment’s firewall. In case you have a hard time finding the right size of screw or bolt, then use a drill in driving one sheet of a metal screw to the vehicle’s frame. That’s helpful in connecting the isolator.
Step 3 – Trace the wire starting from the battery post that you can find at the alternator to the fuse box of the vehicle. Note that the battery post often comes with a “B” or “B+” mark, making it easier to locate it. Connect the wire at the opposite end part of the fuse box where you wired the alternator.
You should then run it to a post with an “IN” mark found on the isolator. The next step is stripping then crimping a ring connector found at the end part of the wire. You can use it in connecting to the post. It provides a more reliable connection than when you coil a bare wire and use it to surround the post.
Step 4 – Connect a wire starting from the “OUT” post that you can find in the isolator. Run it to your extra RV battery’s positive post.
Step 5 – Connect a wire attaching the middle battery isolator’s post to a screw or bolt, which passes through your vehicle’s frame. This is crucial in grounding that mid-post directly into your RV’s frame.
Step 6 – The next step is running a wire starting from the extra battery’s negative post to your RV’s floor pan. When doing this, you have to ensure that you do the connection directly into the pan’s mental, not to its plastic body components. Connect the negative cable again to the vehicle’s main battery.
Extending the Life of your RV Battery

Aside from learning how to charge RV battery while driving, it is also advisable for you to learn a thing or two about how you can extend your RV battery’s life. That way, you can make use it for as long as possible. Here are some tips on lengthening the lifespan of the battery:
- EXTENDED BATTERY LIFE - Automatic full time desulfator reverses sulfation (a build up of lead sulfate crystals) the...
- AMBIENT TEMPERATURE SENSOR - Installed temperature compensation precisely adjusts battery voltage based on temperature...
- FOUR BATTERIES AT A TIME - Maintains up to four batteries at a time when connected in parallel. Requires the use of...
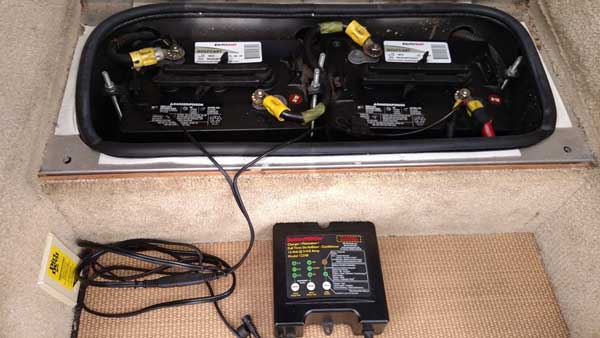
Do routine maintenance – Of course, routine maintenance is crucial in ensuring that the life of your RV deep cycle battery will be as long as you want. It is also a must to not fail to recharge a discharged battery right away. Note that one of the major causes of dead RV batteries is sulfation.
It happens when the battery is in a low charge state, causing small crystals to form on the plates. Letting the battery stay in that condition for a long time without recharging it might just ruin its condition.
Do not expose it to hot temperatures too much – Avoid overcharging, too. Note that both overcharging and too much exposure to hot temperatures have the tendency of killing batteries. In case it is too hot outside when you are driving your RV, make it a point to monitor more frequently the battery cells’ water levels.
Constantly monitoring the electrolyte levels and pouring distilled water when needed can definitely prevent damage to your RV’s batteries, especially if you are using the lead-acid type.
Only water the RV battery after you charge it – It is highly recommended to water the battery only after charging unless its plates are already exposed before you charge it.
In case of exposed plates, pour just enough water as a means of covering them then charge it. After fully charging the battery, you are then allowed to fill each cell down to the vent’s bottom.
Conclusion
As a recreational vehicle enthusiast, you would want to make sure that all your trips are as smooth-sailing as possible. You want to minimize troubles and issues as much as possible. You will feel more at ease if you are aware of how to charge an RV battery while driving since it allows you to keep going no matter where you decide to travel.
Last update on 2023-05-06 at 08:29 / Affiliate links / Images from Amazon Product Advertising API
